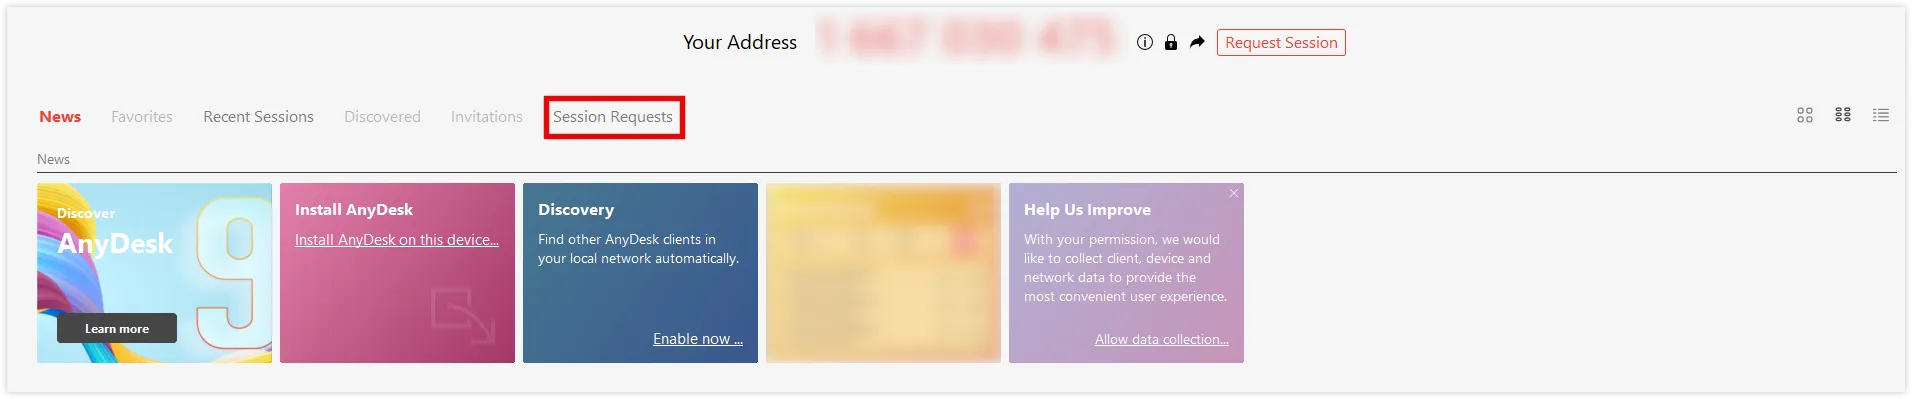
Session requests
License: Ultimate-Cloud
Platform: Windows and macOS
Relevant for: Admins and support agents
Session Requests streamline remote support by enabling support agents to connect with users effortlessly via a Session link, without requiring an AnyDesk ID.
This feature also lets support agents keep track of past and upcoming requests, streamlining the process for both support agents and end users.
Requirements
- AnyDesk 9.0.1 or later (Custom Client) for Windows or macOS with the Session Request feature enabled.
- The support agent must have the support_agent role assigned in my.anydesk II.
- The support agent must be signed in to the AnyDesk Client.
- To connect a remote devices from my.anydesk II or other platforms (such as Salesforce or Freshservice), the support agent must have the custom client installed on their device.
Overview
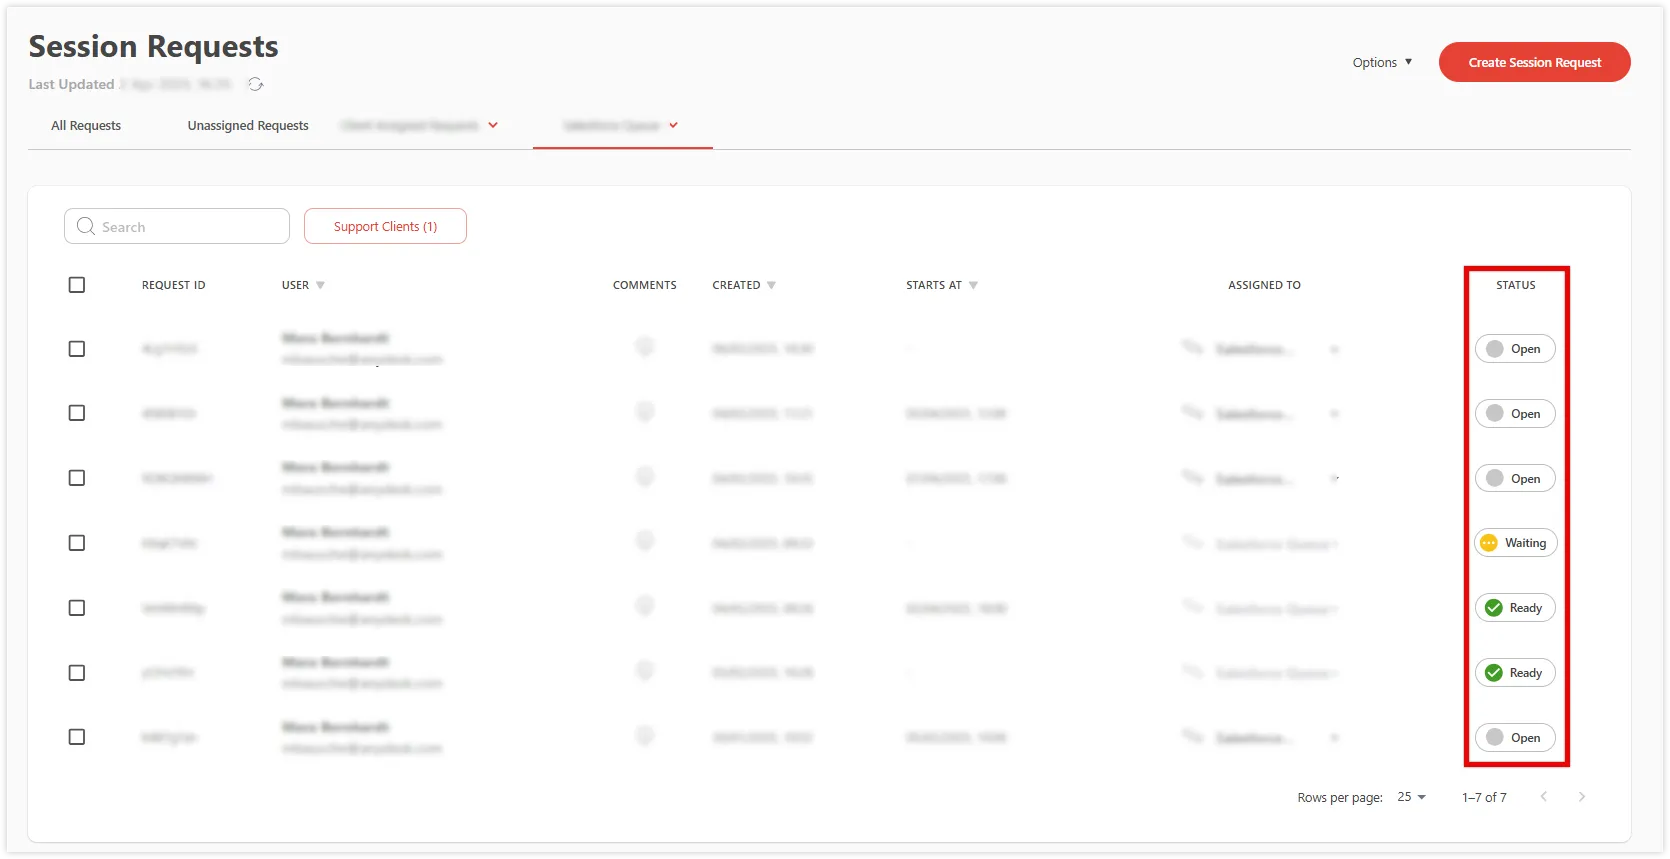
You can view all session requests in the Session Requests tab, available in both the AnyDesk client and my.anydesk II.
Each session request has a status that shows its progress and availability for connection:
| Icon | Status | Description |
| Open | The initial state after a session request is created. | |
| Waiting | The Remote User has opened the session link but has not yet granted access. | |
| Ready | The remote user has granted access, allowing the support agent to connect by clicking next to the request. | |
| Connected | The session is in progress. | |
| Closed | The session request has been closed. | |
| Expired | The session request has expired. |
🦉 For instructions on assigning requests to support agents, scheduling sessions, and understanding statuses in both AnyDesk client and my.anydesk II, see this article.
Creating a session request
Support agents can create session requests for the end user in the AnyDesk client and in my.anydesk II if they have the required permissions. Follow these steps:
in AnyDesk client
in my.anydesk II
-
In the AnyDesk client, navigate to Session Requests.
-
In the dialog that opens, fill in the following details:
- Recipient name - enter the end user’s name.
- Assign to - select who to assign this session request to: Myself, Client, or a specific Queue.
- Recipient email - provide the end user’s email address.
- Send invitation email - select the checkbox to send the session link and updates to the provided email.
- Comments - add any notes relevant to this request.
-
Click Create Request.
If you selected the Send Invitation Email checkbox, an email with the session request link will be automatically sent to the remote user from [email protected]. You can also copy the session link by clicking

-
In the my.anydesk II management console, navigate to Session Requests.
-
In the dialog that opens, fill in the following details:
- User Name - enter the end user’s name.
- User Email - provide the end user’s email address.
- Send Email - select the checkbox to send the session link and updates to the provided email.
- Email Language - select the language in which to send email to the end user.
- Comments - add any notes relevant to this request.
- Schedule - select the checkbox to set a time for the session request.
- Expires In - select the date for when the session request will expire.
- Assign to - select who to assign this session request to: Unassigned, Client, or a specific Queue.
-
Click Create.
Connecting to the remote user
To connect to a remote user after creating a session request, follow these steps:
Step 1: Remote user’s side
-
The remote user receives an email or text message containing an invitation link.
-
When the user selects the link, they are redirected to a webpage where they can accept the session request.
-
The remote user can join the session by either:
- Downloading the AnyDesk Assist client
- Joining with their existing AnyDesk client version 9.0 or newer
AnyDesk remote session request with download instructions for AnyDesk Assist application.

Step 2: Remote agent’s side
- In the AnyDesk client or my.anydesk II, go to the Session Request tab to see the remote user’s status.
- According to the user’s status, select the Connect button to join the session. Depending on remote user’s status, select the Connect button to join the session.
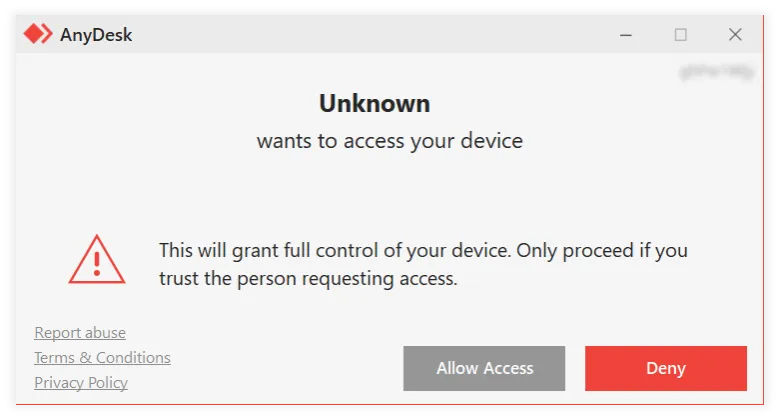
Step 3: Remote user’s side
- The remote user will see a dialog in their AnyDesk client with options to Allow Access or Deny the session.
- The remote user selects Allow Access to proceed with the session or Deny to reject the connection request.
AnyDesk warning about unknown access request with options to allow or deny access.
Step 4: Begin the session
- If the remote user selects Accept, the Session Status in your Session Requests tab updates to Ready.
- You can now begin assisting the user remotely.
A feature in AnyDesk that allows support agents to connect with users via a session link without needing the user’s AnyDesk ID, streamlining remote support.
A session is a screen of a device shared within a concurrent connection. You can create a connection with a remote device, and you can create another session with the same remote device. Each opened window on the connected remote device will be displayed as a separate session. In AnyDesk, session is represented in separate windows on Windows and in tabs on Mac.
A unique number automatically assigned to each installed AnyDesk app. It’s used to identify the device and connect to it remotely.
A tailored version of AnyDesk that can be configured for specific organizational needs, including branding and functionality.
A management portal where users can check their license information, view and manage AnyDesk clients linked to the account, find more detailed information about all sessions, and more.
The AnyDesk application installed and running on a device, used to connect to or receive remote sessions.
An individual whose device is being accessed or controlled by someone else using AnyDesk.
Indicates the current state of a session request in AnyDesk, such as open, waiting, ready, connected, closed, or expired.
Haz clic para continuar leyendo
- Published at